I am beyond excited to finally be sharing this DIY with you. It combines three of my biggest passions: dogs, sewing and my favourite fabric store ever.
Sometimes DIY projects are a way of making something you might not otherwise be able to (easily) find. Sometimes they’re a way to get what you want for cheaper. Sometimes, if you’re lucky, you’ll find a project idea that gives you both. This is one of those ideas.
There are a lot of dog collars out there. But they’re often not that cute, not that interesting, and not worth the $20-$30 price tag. If you only got to wear one piece of clothing everyday, wouldn’t you want it to be cute and interesting?
Gorgeous fabric, on the other hand, is much easier to find. That is, ever since Patch opened its doors in Halifax a few years ago.
You can see where this is going.
Cute fabric + a little bit of supplies + a little bit of DIY = adorable, functional and cheap collars for your pooch. I bring you the…

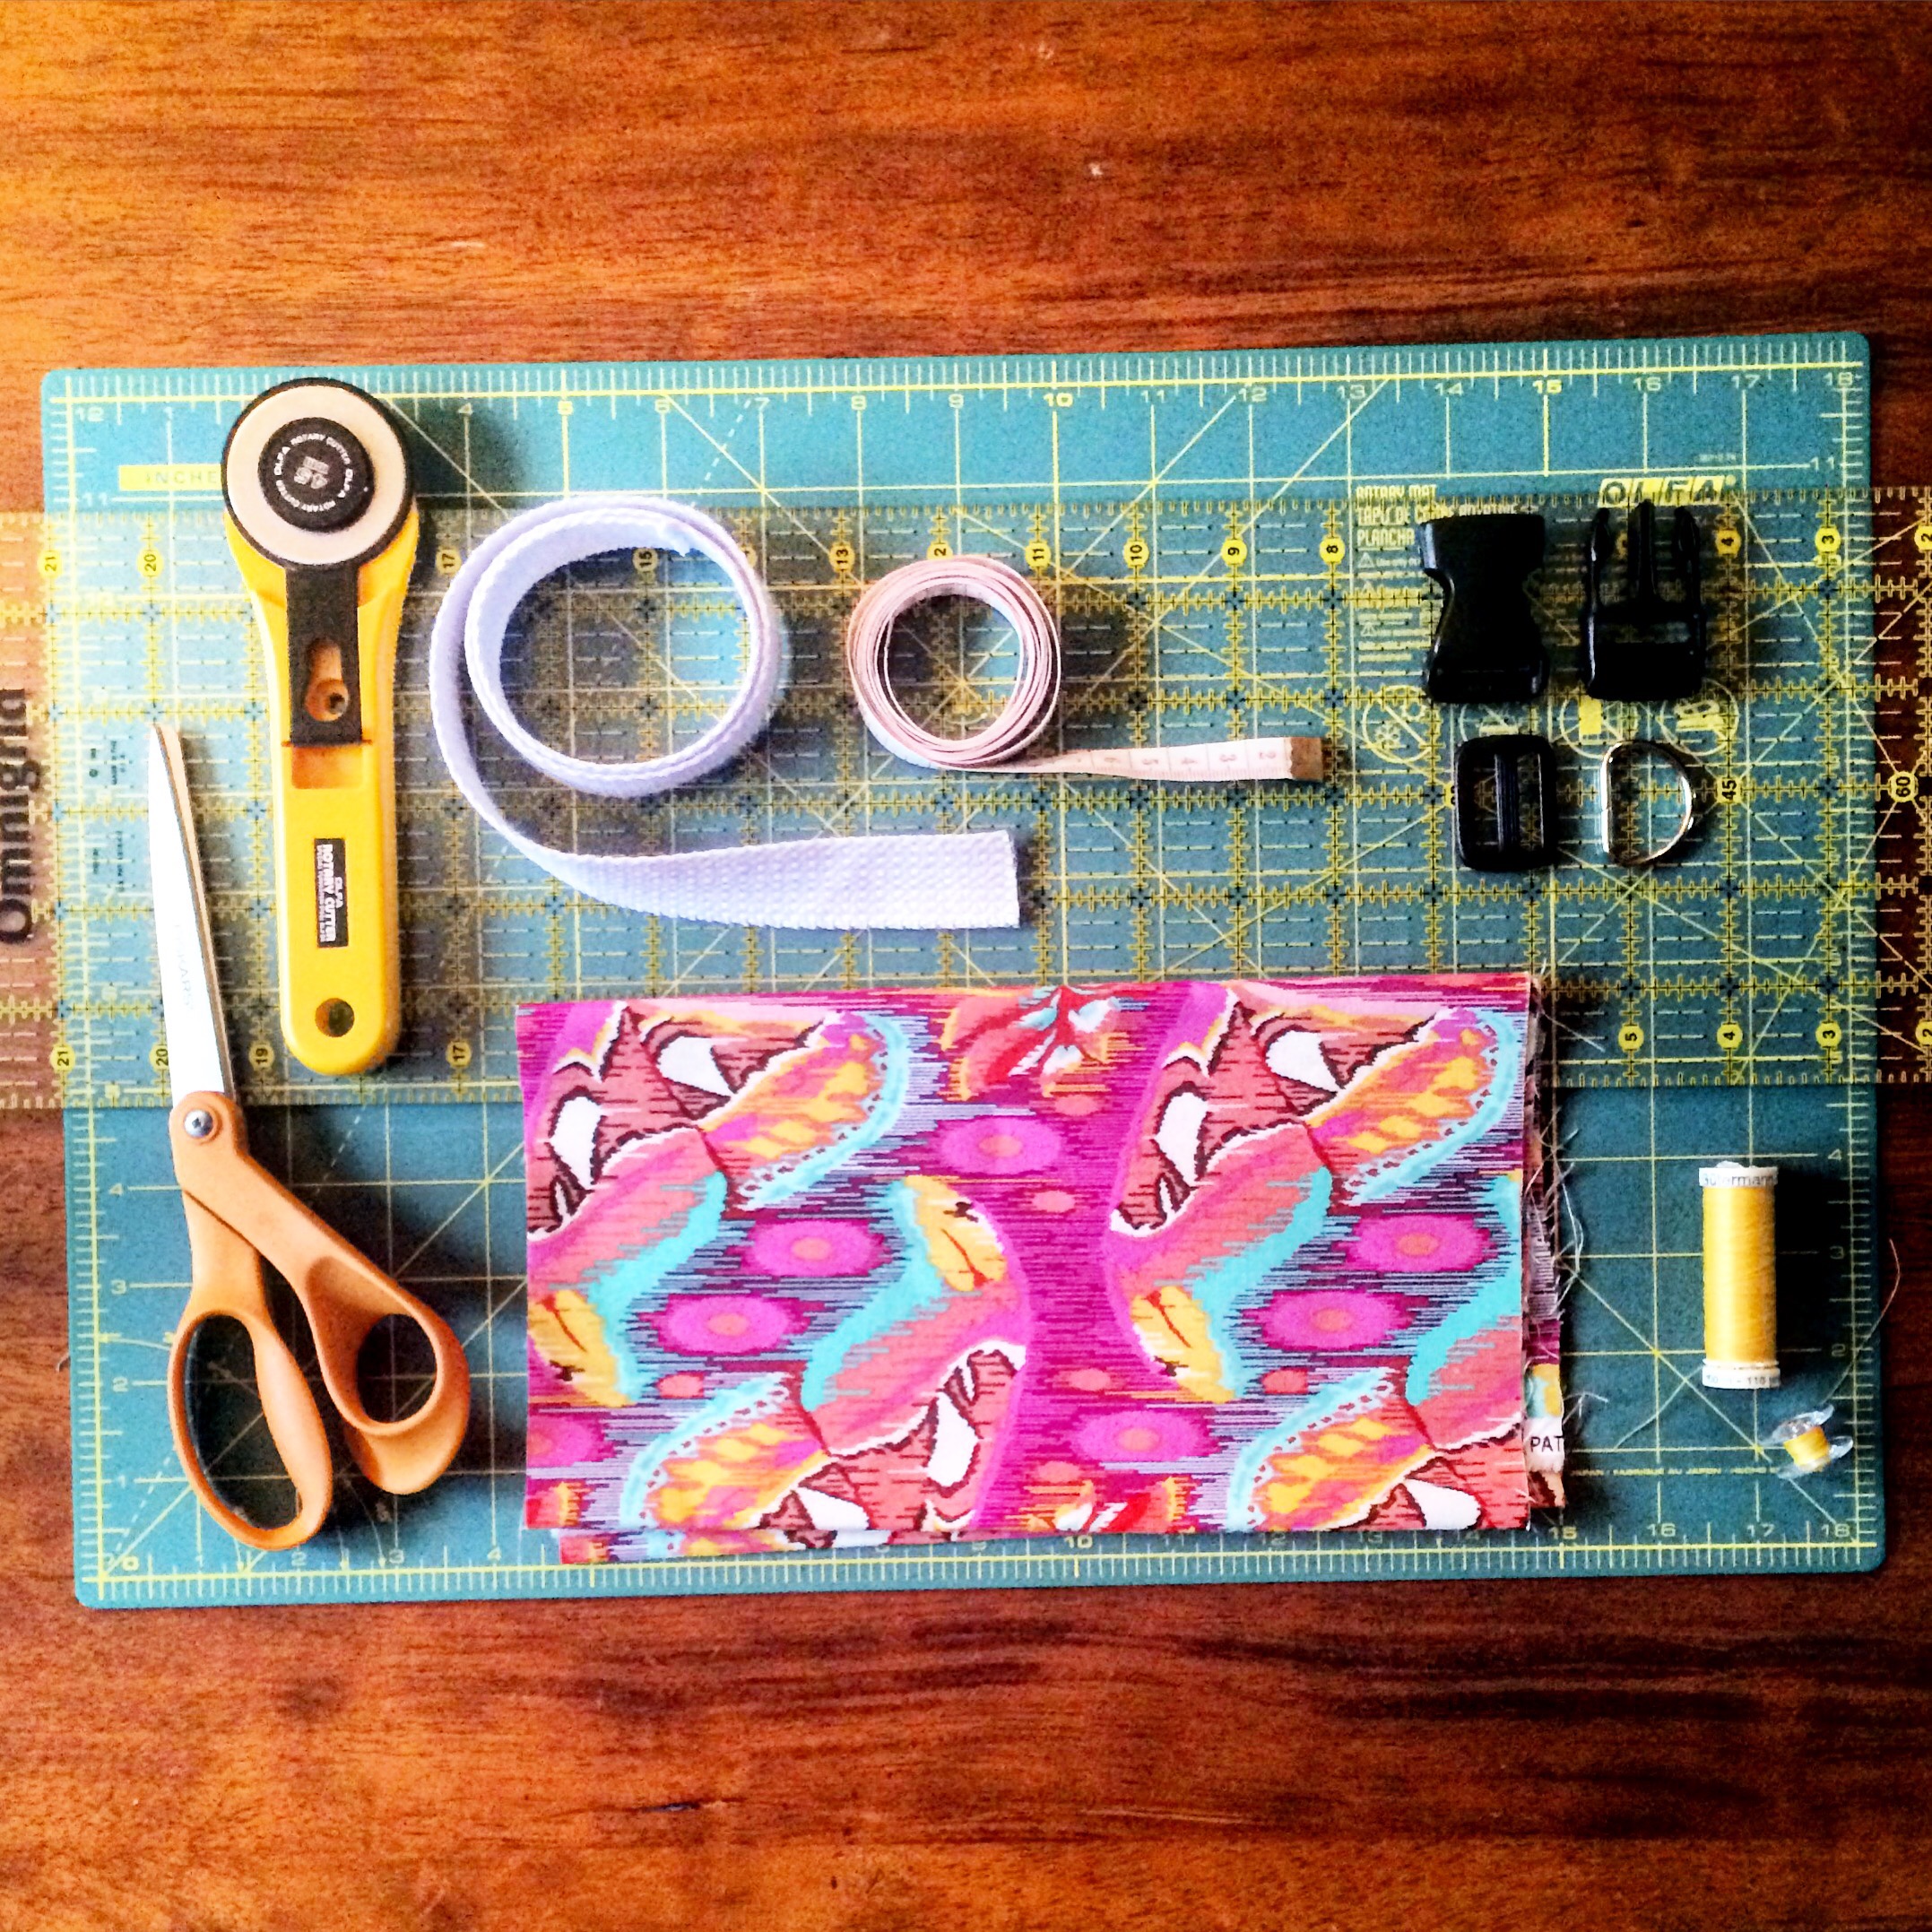
Here’s what you’ll need:
- 1/2 meter of fabric (I use quilting cotton)
- Cotton webbing (It needs to be about 12-15 inches longer than the finished collar size)
- Coordinating thread
- 1-inch D-ring
- 1-inch parachute clip
- 1-inch tri-glide clip (For me, this was the hardest piece to track down. I finally found them at Fabricville on Bayer’s Road.)
You’ll also need fabric scissors (or, as I prefer, a rotary cutter and cutting mat – it makes it so much easier to get your piece of fabric nice and straight), a measuring tape, an iron, and an ironing board.
Here’s what you’ll need to do:
1. Measure one of your dog’s old collars (from the inside of one buckle to the other). This measurement is what I’ll refer to as your “finished collar size”.

2. Cut a strip of fabric with the following dimensions:
Length: Finished collar size + 15 inches
Width: 4 inches


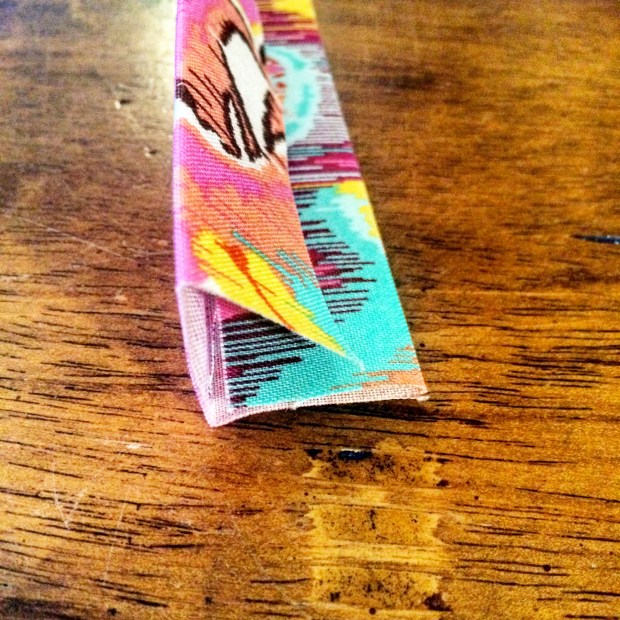
3. Fold the strip of fabric in half length-wise and iron. Then open it up, and fold each of the long, raw edges towards the center. Iron again.


Your strip should now look like this:
4. Cut the cotton webbing so it is slightly shorter than the strip of fabric. Insert the cotton webbing inside of the fabric strip, to the left of the center fold. Then fold the right half of the fabric strip over the left half, so the folded edge of the right half is now on the outside edge on the left.


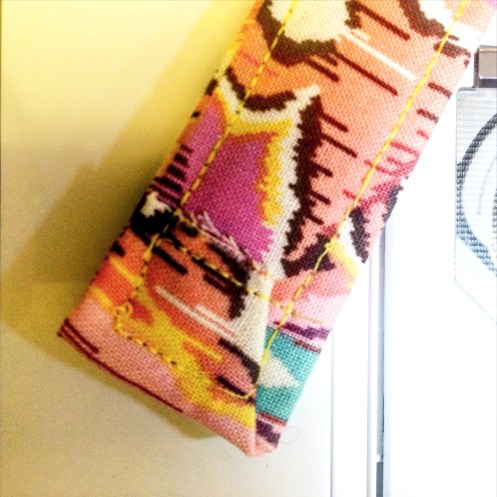
5. Stitch all the way around the outside of the strip, about 1/8-inch from the edge. At each end of the strip, fold the fabric neatly over the end of the cotton webbing and stitch over it, back and forth a couple of times to reinforce the stitching.


You may also want to stitch a straight line across the raw edge of the fabric:
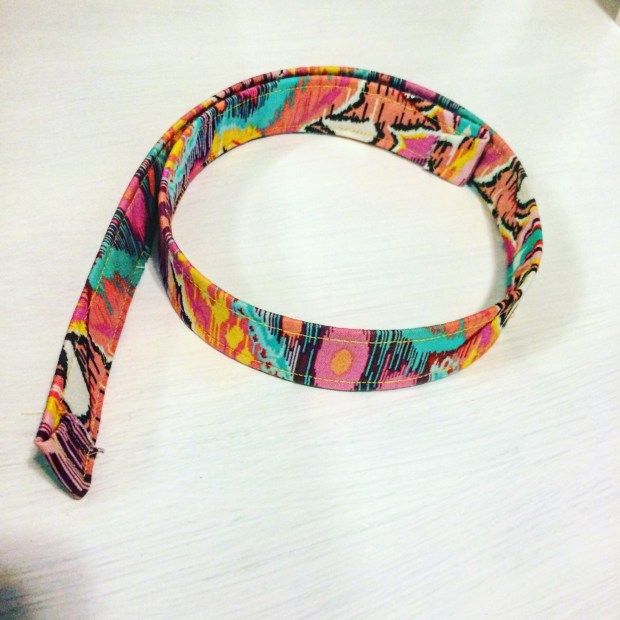
6. You now have a long fabric-covered strip that will form the base of your collar. I will refer to the side of the strip that has the folded-over fabric on it (facing upwards above) as the “bottom” of your strip.
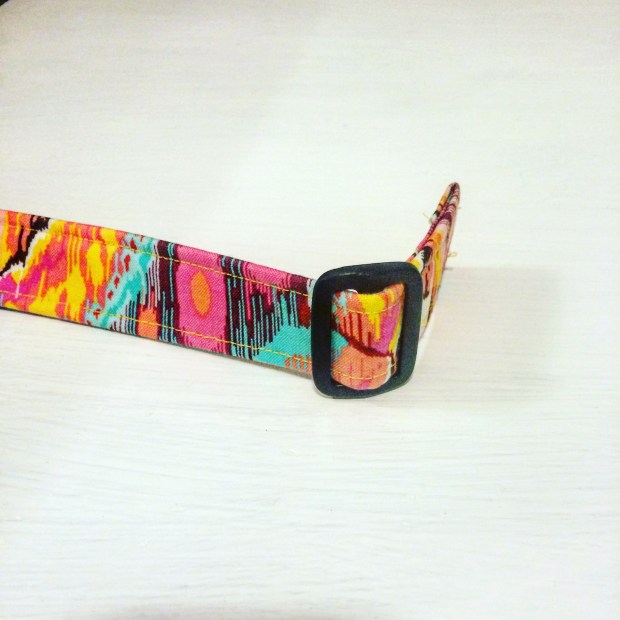
7. Weave one end of your strip through the tri-glide clip, like this:
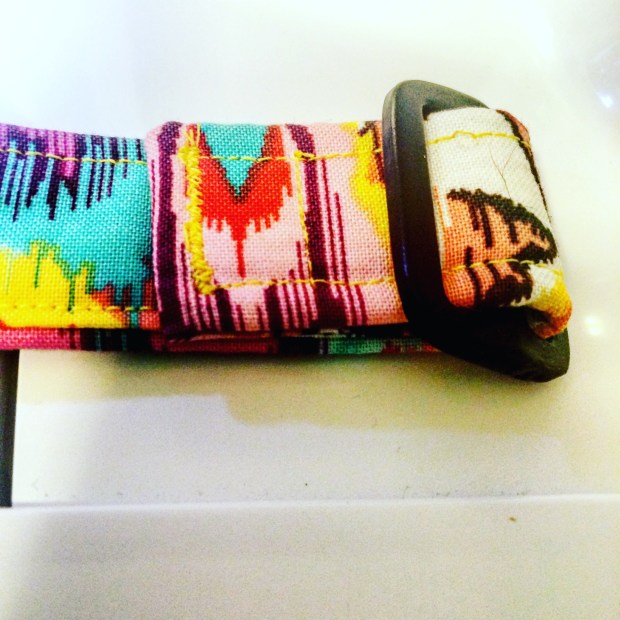
8. Fold the end of the strip over, so that the bottom of the strip is facing inwards, and using a narrow zig zag stitch, stitch back and forth across the end of the strip to secure it. Then, using a regular stitch, do one straight line across as close to the tri-glide clip as possible, just to prevent your tri-glide clip from sliding around.
9. Next, pull the other end of the strip through the lower space on the “male” end of the parachute clip, with the prongs of the clip on the top side of the strip.


10. Pull the same end of the strip through the tri-glide clip.

11. Next, put the D-ring on, followed by the “female” end of the parachute clip, with the bulk of the parachute clip piece at the top side of the strip.

12. Fold the end of the strip over, with the bottom of the strip facing inwards, so that the D-ring and the parachute clip piece are both inside of the small space formed at the end.

13. Once again, use a narrow zig zag stitch to stitch back and forth across the end of the strip to secure it.


14. Slide the D-ring towards your stitches, and do another zig-zag stitch between the D-ring and the parachute clip.


15. If you can, slide the D-ring back towards your second row of stitches, and do a third row of stitches on the other side, to create a nice tight space for the D-ring.


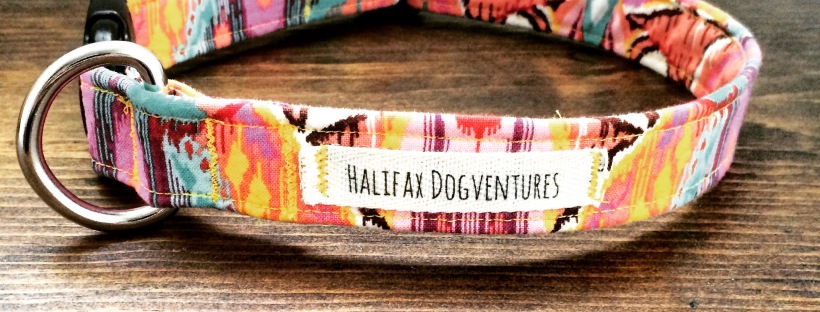
That’s it! You’re all done! Unless of course you wanted to stitch on a custom label…

Doesn’t it look great?!

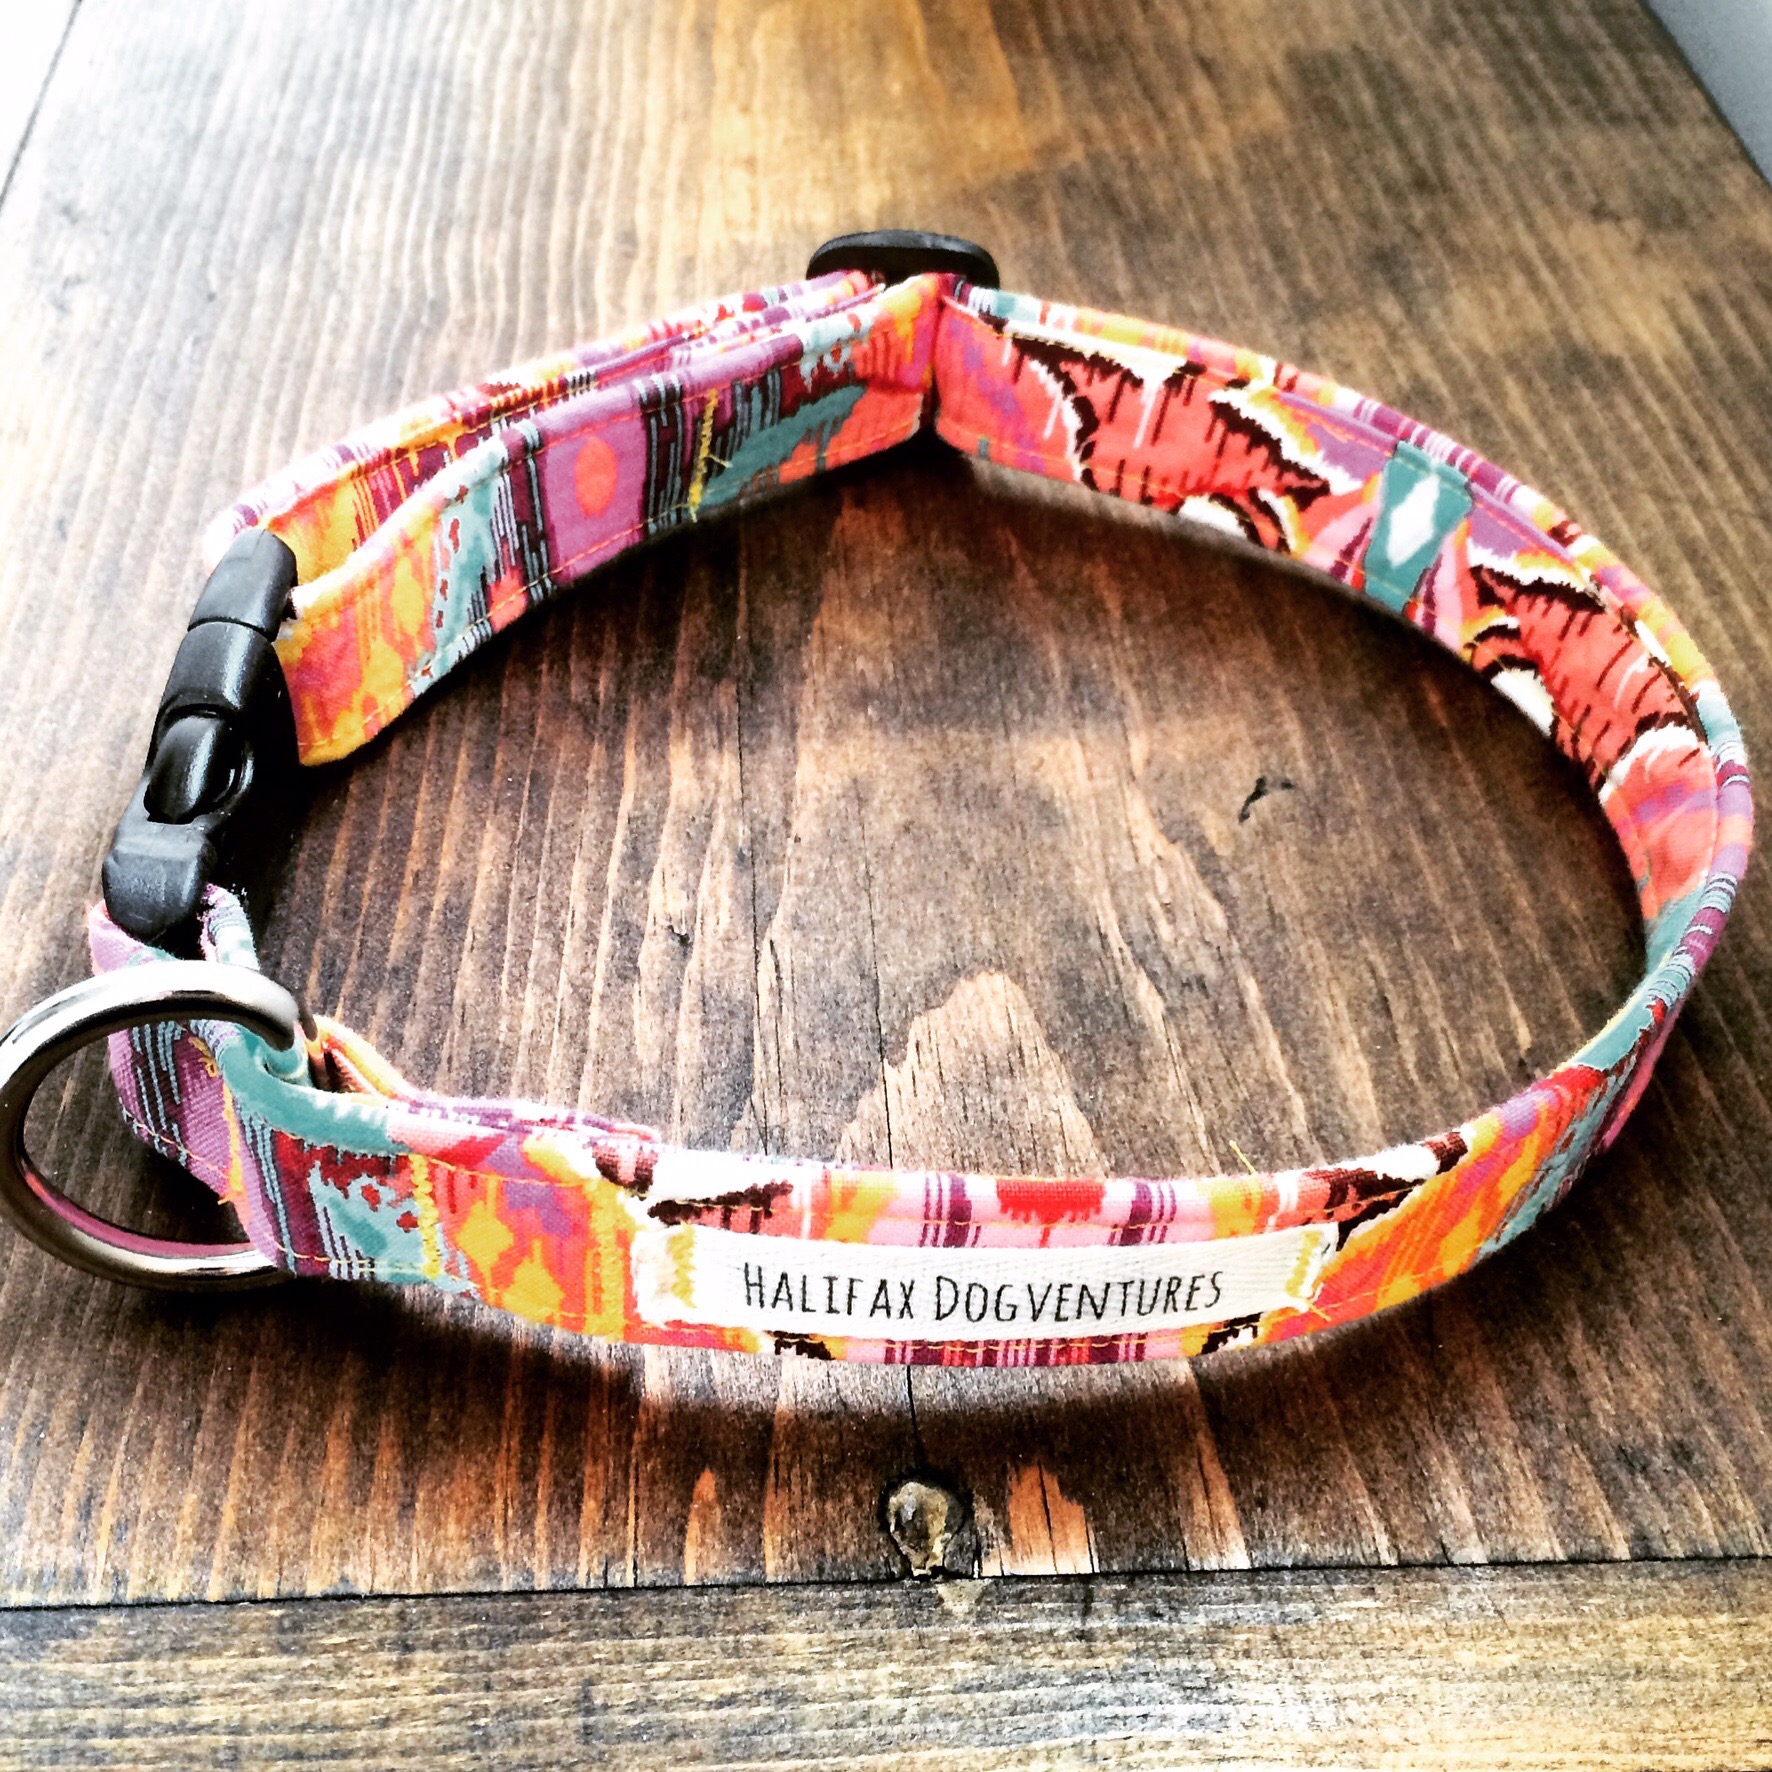


Just think… you can now make a dog collar using any fabric, for any occasion… And your dog will definitely have the cutest, most unique collars on the block.
So. Good.

64 thoughts on “DIY Adjustable Dog Collar Tutorial”